A well-maintained lawn sprinkler system is crucial to keeping your lawn lush and green, especially during Canada’s unpredictable weather. When your system runs into issues, it can lead to wasted water, dead patches, and higher utility bills.
According to research, advancements in sprinkler design have focused on improving hydraulic performance and reducing water waste by modifying nozzle structures and using computational models to enhance water droplet coverage.
By troubleshooting common problems like clogged heads or low water pressure, you can avoid costly repairs and ensure your lawn gets the right amount of water. We’ll walk you through how to fix the most frequent sprinkler issues so your system stays efficient all season long.
Fix Sprinkler Heads That Aren’t Spraying
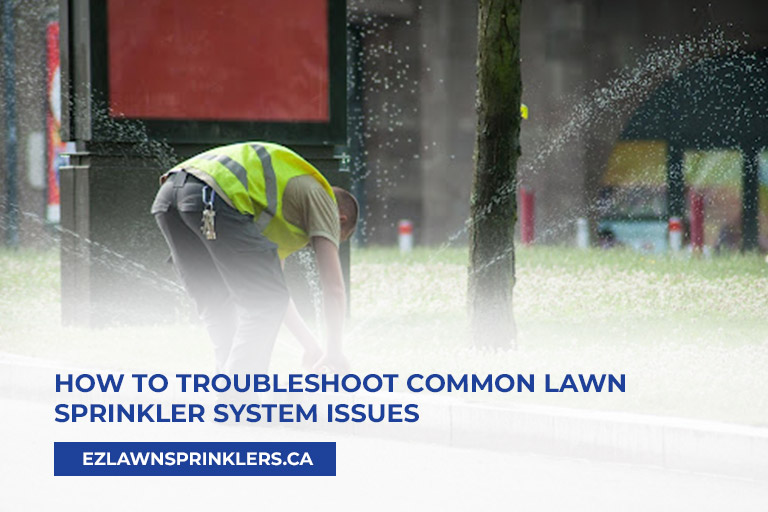
Sprinkler heads that aren’t spraying correctly are a common issue, often caused by clogs or damage. You might notice uneven water distribution or some areas of your lawn staying dry. Here’s how to troubleshoot and fix this problem:
- Inspect the Sprinkler Head
Begin by turning off your sprinkler system and checking the affected head. Dirt, grass clippings, and debris can easily clog the nozzle. Gently remove the head and rinse it with water to clear out any blockages. - Clean or Replace the Nozzle
If the spray is still weak or uneven, the nozzle itself might be worn out. Use a soft brush to clean it, or replace it with a new one if it’s damaged. Be sure to select the right nozzle type for your system to ensure even water distribution across your lawn. - Check the Water Pressure
Sprinkler heads can also fail to spray properly if the water pressure is too low. Test the water pressure in your system, as this can impact performance. Adjust your pressure regulator if needed to make sure each head sprays at the optimal range.
Resolve Low Water Pressure Issues
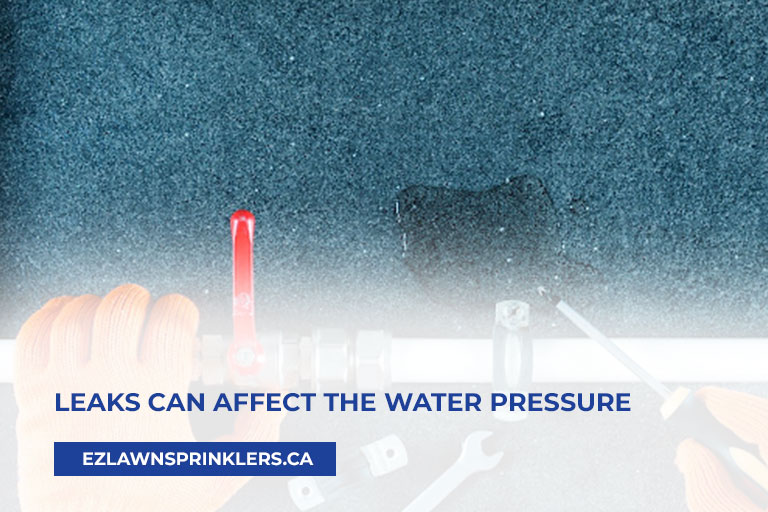
Low water pressure can prevent your sprinkler system from operating efficiently, leading to weak or uneven watering across your lawn. Here’s how you can identify and resolve this issue:
- Check for Leaks
One of the most common causes of low water pressure is a leak in the system. Inspect your lawn for unusually wet areas or puddles that might indicate a break in the pipes or fittings. Fixing these leaks will help restore water pressure and prevent further water waste. - Inspect the Backflow Preventer
The backflow preventer, a device designed to protect your water supply, can sometimes malfunction and restrict water flow. Ensure it is fully open and functioning properly. If it’s clogged or damaged, you may need to clean or replace it. - Clear Blockages in the Valves or Pipes
Debris or mineral buildup in your valves or pipes can also reduce water flow. Shut off the water supply and examine the system for any blockages. Flushing out the pipes and cleaning the valves can improve pressure and water distribution. - Adjust the Pressure Regulator
Your sprinkler system may have a built-in pressure regulator. If the water pressure is too low, adjusting this regulator can increase the flow to ensure your sprinklers operate correctly.
Get Sprinklers Rotating Again
If your sprinklers aren’t rotating as they should, you may notice parts of your lawn not receiving enough water. This issue is usually caused by mechanical problems or debris buildup in the sprinkler head. Follow these steps to fix the problem:
- Check for Dirt or Debris
Dirt and small particles can get lodged in the gears of your sprinkler head, causing it to get stuck. Turn off the system, remove the affected head, and clean out any debris. Rinsing the parts thoroughly can restore proper rotation. - Adjust the Sprinkler Head
Sometimes, the head might not be properly aligned, which can prevent it from rotating smoothly. Rotate the head manually to see if it moves freely, and make adjustments to its position if necessary. This will ensure it covers the right areas of your lawn. - Examine the Gear Mechanism
The gear mechanism inside the sprinkler head can wear out over time, especially in older systems. If the head is still not rotating after cleaning and adjusting, the gear may need replacing. You can purchase replacement gears from a local hardware store or opt to replace the entire sprinkler head. - Check the Water Pressure
Low water pressure can also cause sprinkler heads to stop rotating. If you’ve already ruled out mechanical issues, test the pressure in your system. Increasing the pressure can restore proper rotation and even water distribution.
Stop Water Pooling Around Sprinkler Heads
Water pooling around sprinkler heads can lead to overwatering and potential damage to your lawn. This issue is often caused by misaligned heads or drainage problems. Here’s how to address it:
- Identify the Source of Pooling
Start by observing the affected areas. Is water accumulating directly around specific sprinkler heads? If so, this could indicate that the heads are not distributing water evenly. Make a note of any patterns in pooling. - Adjust Sprinkler Head Alignment
Misaligned sprinkler heads can lead to excessive water in one spot. Carefully adjust the heads to ensure they’re positioned correctly, so water sprays evenly across the intended area. If needed, raise or lower the heads to better align with your lawn’s contours. - Improve Drainage in Problem Areas
If certain parts of your lawn naturally hold water, you may need to enhance drainage. Consider adding soil amendments or creating slight slopes to direct water away from problem areas.
Installing a drainage system can also help manage excess water. If you’re unsure how to proceed, a professional can help install a reliable sprinkler system in Toronto that addresses your specific needs.
- Reduce Watering Time or Frequency
If pooling persists, it may be a sign of overwatering. Adjust your sprinkler system’s timer to reduce the duration or frequency of watering. This will help prevent excess water from accumulating around the heads and promote healthier lawn growth.
Turn On Sprinkler Zones That Won’t Activate
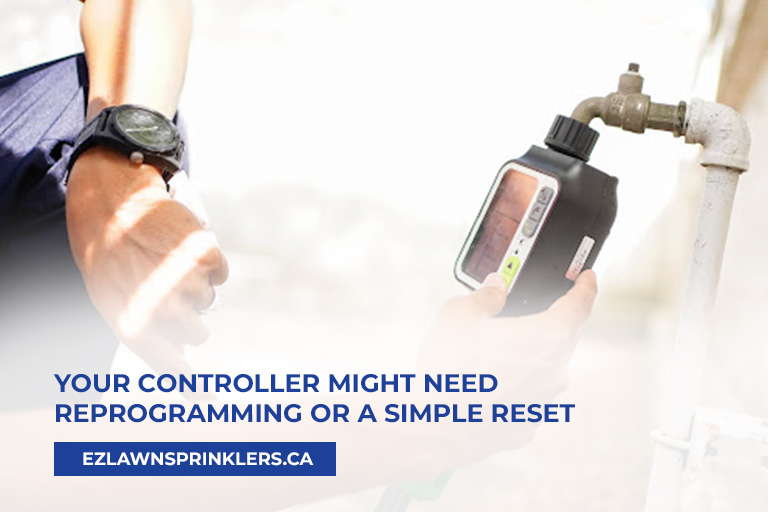
If certain zones of your sprinkler system aren’t turning on, it can lead to dry patches on your lawn. This issue can stem from electrical problems, valve malfunctions, or timer settings. Here’s how to troubleshoot and fix these issues:
- Inspect the Timer and Settings
Start by checking your timer or controller settings. Ensure that the zone in question is scheduled to operate during the desired times. Sometimes, a simple reset or reprogramming can resolve activation issues. - Check for Electrical Issues
If the timer is functioning but the zone still won’t activate, inspect the wiring connections. Look for any frayed wires or loose connections, which can prevent electrical signals from reaching the solenoid. Repair any damaged wires or reconnect loose connections to restore functionality. - Examine the Control Valves
The control valves for the non-functioning zone may be stuck or malfunctioning. Locate the valve box and manually check the valves. If a valve appears stuck, gently turn it to see if it frees up. If it remains unresponsive, consider consulting a sprinkler system installer for professional assistance or replacing the valve. - Test the Solenoid
The solenoid, which opens and closes the valve, can sometimes fail. To test it, disconnect the solenoid from the valve and use a multimeter to check for continuity. If there’s no continuity, it’s time to replace the solenoid to restore proper operation.
Fix Malfunctioning Timers or Controllers
When your sprinkler system’s timer or controller isn’t functioning properly, it can disrupt your entire watering schedule. Here’s how to troubleshoot common issues with your sprinkler timers or controllers:
- Check the Power Supply
Begin by ensuring that the timer is receiving power. If it’s battery-operated, check the batteries and replace them if they’re dead. For wired systems, verify that the unit is plugged in and that there are no tripped circuit breakers. - Inspect Timer Settings
Incorrect programming is a common issue. Review the settings to make sure they match your watering schedule. Look for any forgotten programming changes or overrides that may have accidentally turned off the system. - Reset the Timer or Controller
Sometimes, simply resetting the timer can resolve glitches. Follow the manufacturer’s instructions to perform a reset. After resetting, reprogram your desired watering schedule to ensure everything is set correctly. - Check for Faulty Wiring Connections
Inspect the wiring connections between the timer and the valves. Look for loose or corroded wires that may be affecting communication. Tighten any loose connections and replace damaged wires to restore proper function. - Replace Faulty Components
If the timer or controller is still malfunctioning after checking power, settings, and wiring, it may be defective. Consult the manufacturer’s manual for troubleshooting tips or consider replacing the unit if necessary.
Keep Your Lawn Thriving with Professional Help
Maintaining a healthy, vibrant lawn can be a challenge, especially when dealing with sprinkler issues. If you find yourself facing persistent problems or simply want to ensure your system is running at peak efficiency, consider reaching out to a professional.
EZ Lawn Sprinklers specializes in sprinkler repair in Toronto, providing expert solutions tailored to your needs. Don’t hesitate – call us today at (416) 580-3939 to schedule your service and keep your lawn thriving all season long!
